

Last updated August 2016
Manning Wardle ‘Titan’
Neilson 12” ‘Orion’
Black Hawthorn ‘Ajax’
Hawthorn-Leslie ‘Leviathan’
 This little Manning Wardle was the loco that converted me to split axle pick-
up. When first built (sometime in the early 80's), with conventional wiper pick-ups on the backs of the wheels, it ran like a pig. Absolutely hopeless.
My first attempt to get it running better was to convert one side to collect the current through the axle bearings, with wiper pick-ups on the other side. This was equally disastrous, because I couldn't adjust the wiper pick-up so that it worked, without applying pressure to the wheel back so that one wheel lifted off the track. The loco was too light to keep all four wheels on the track, so ran (badly) on three, and repeatedly fell off the track.
The final phase was to completely reconstruct the chassis - copper-clad frame spacers (gapped for insulation), split axles, and pick-up from the four axle bearings. The end result was a little loco which ran really rather well, given its size. I entered it into the Scalefour Deputy Chairman's competition. I recall that it didn't do too badly on negotiation of the test track, but in the weight-lifting part it didn't do too well - in fact couldn't even lift the empty weight tray without wheel-slip. A bit unfair really, because it can actually lift about 30 of my wagons, provided it sets back into them first, slackening all the couplings, before moving off, taking the weight of each wagon one-by one. Irrelevant really - it only needs to pull about 5 at a time for Brighton Road.
It's been out of action for some time, since the motor mounting plate came adrift. Also the original paint finish was not very good. The completion of the brewery warehouse seems to be a good enough reason to renovate it and getting it going again.
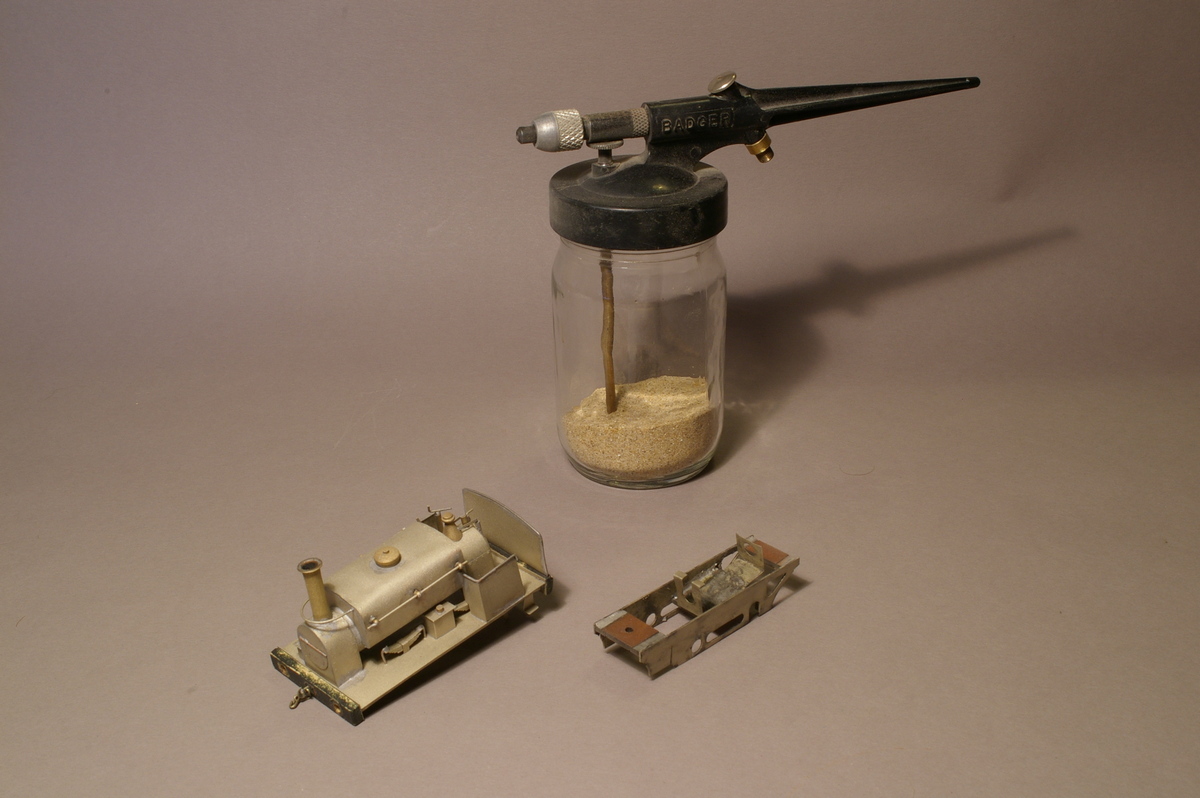
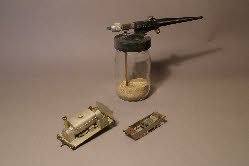 Here is the body and dismantled chassis, cleaned up ready for a repaint, using my trusty Badger miniature sandblaster. This is one of many tools that I find indispensable. Nickel silver is not the best material to get good paint adhesion (although it’s better than brass), but grit blasting with silver sand seems to improve matters immeasurably.
 This is the drawing that inspired my effort -
 a drawing from an article by R.M Drake Brockman in Railway Modeller in 1975. I haven't studied this drawing for twenty-five years or so, and I'm pretty appalled at the crudity of my efforts - the cylinders and connecting rods etc (see pictures below) are big enough to power a 9F I think. Perhaps I ought at least to take a bit of thickness off the connecting and coupling rods.............
(Just by-the-by I don't keep railway mags, but have instead taken to scanning any articles of interest. I have a database which is very easy to search for key words, so typing in 'manning' took me to the appropriate entry, and the hyperlink straight to the drawing. Beats spending hours searching through boxes of paper.)
Manning Wardle ‘Titan’
Neilson 12” ‘Orion’
Black Hawthorn ‘Ajax’
Hawthorn-
 This little Manning Wardle was the loco that converted me to split axle pick-
My first attempt to get it running better was to convert one side to collect the current through the axle bearings, with wiper pick-
The final phase was to completely reconstruct the chassis -
It's been out of action for some time, since the motor mounting plate came adrift. Also the original paint finish was not very good. The completion of the brewery warehouse seems to be a good enough reason to renovate it and getting it going again.
 Here is the body and dismantled chassis, cleaned up ready for a repaint, using my trusty Badger miniature sandblaster. This is one of many tools that I find indispensable. Nickel silver is not the best material to get good paint adhesion (although it’s better than brass), but grit blasting with silver sand seems to improve matters immeasurably.
  This is the drawing that inspired my effort -
(Just by-
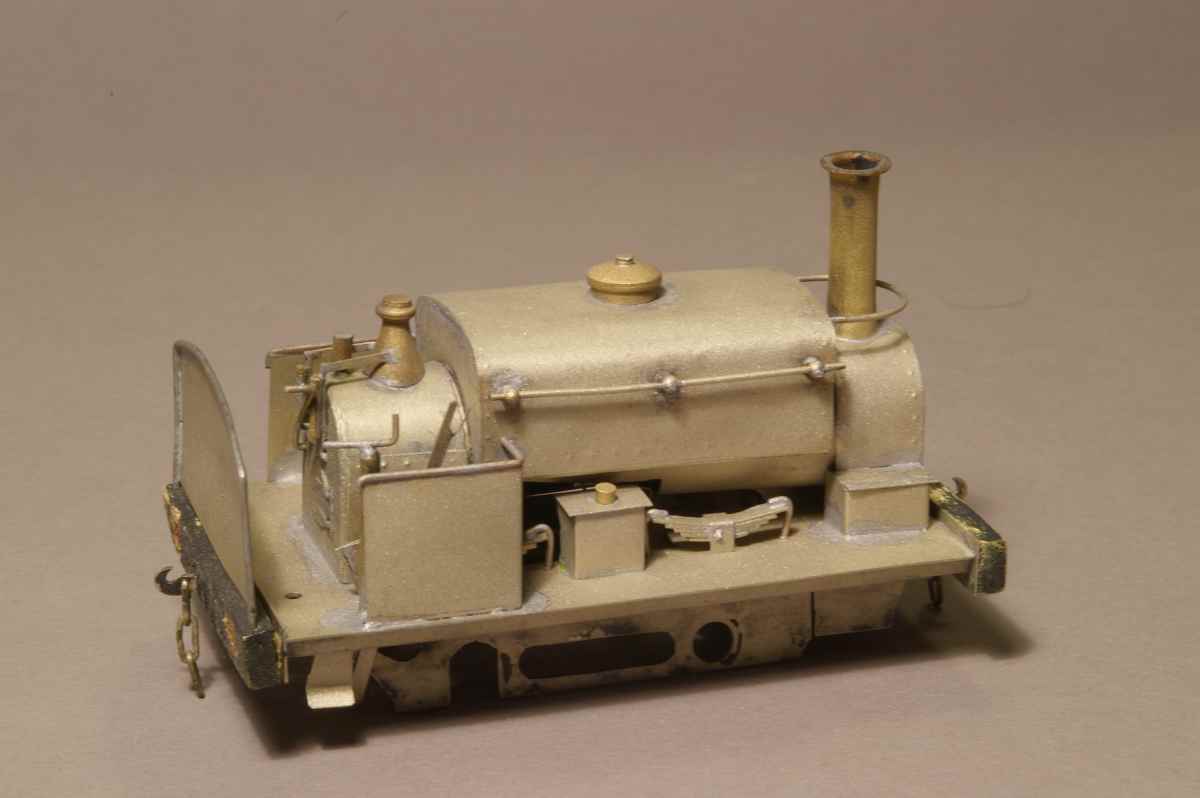 A view of the body sitting on the chassis frames -
 Two views of the original chassis (subsequently rebuilt with a Mashima and HLM gearbox). The front axle uses plain bearings, whilst the rear axle has a very simple centre bearing with axle bearings slotted directly into the frames, to provide the third point of compensation.
The motor sits in a cradle, and packed with shims to get a good mesh with the worm-
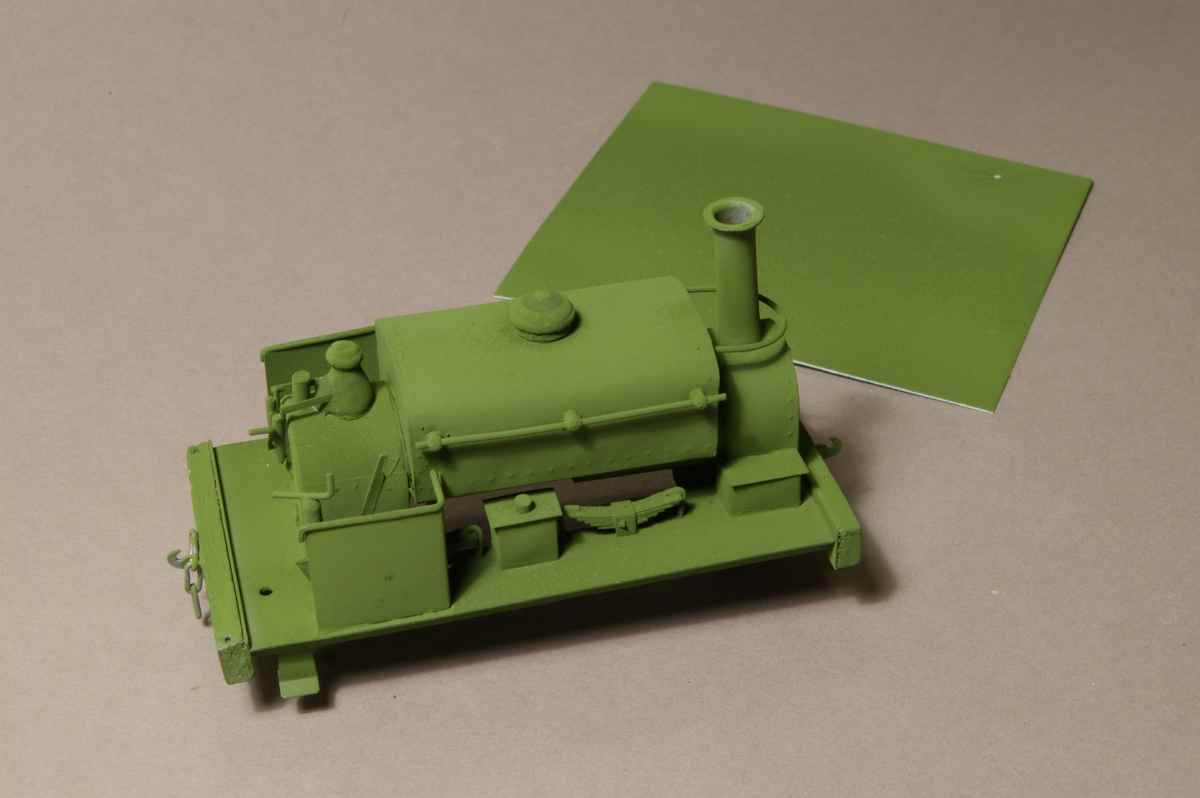 A coat of Halfords grey acrylic primer, and a couple of airbrushed coats of Humbrol no 80.................plus a small piece of clear decal sheet, also sprayed with Humbrol 80, to make up the lining panels and name.
The brass filler cap and safety valve cover have been protected with Maskol and masking tape.
 The lined panel in preparation.
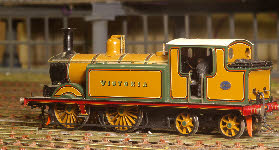
 I've tried lining directly onto locos, and I'm not that good at it. I'm full of admiration for those who can. 'Victoria' is one of only two of my locos to have been painted professionally, and was lined directly onto the loco. My technique is within the grasp of ordinary mortals, if only because you can make as many mistakes as you like, drawing shapes onto plain decal sheet until you're satisfied with your efforts.
The lining has been drawn using a bow pen (another indispensable tool) and acrylic ink 'Magic colour'. It takes a bit of practice to use a bow pen effectively, and a few mistakes get made, but it's not difficult to do. (For my more recent locos I’ve improved my lining technique and have moved on to using enamel paints rather than acrylic ink).
The lettering is Letraset, with shading added to give the typical 3D effect. I find it's easier to do the lettering first and then draw the lining afterwards, so that the lettering is central in the panel. When complete, I'll cut closely round the lining so that the edge of the decal doesn't show too much on the finished loco.
I tape the decal sheet onto some squared paper, and then mark the dimensions on the paper, using the lines as a guide to get everything square. The next stage is to spray gloss varnish both on the decal sheet (to protect it whilst fixing to the loco), and the loco itself (to improve adhesion). Once the decals are in place I'll spray again with a matt or satin finish.
 ..........lining decals added.........final coat of satin varnish.............firebox and smokebox etc handpainted black, and steel-
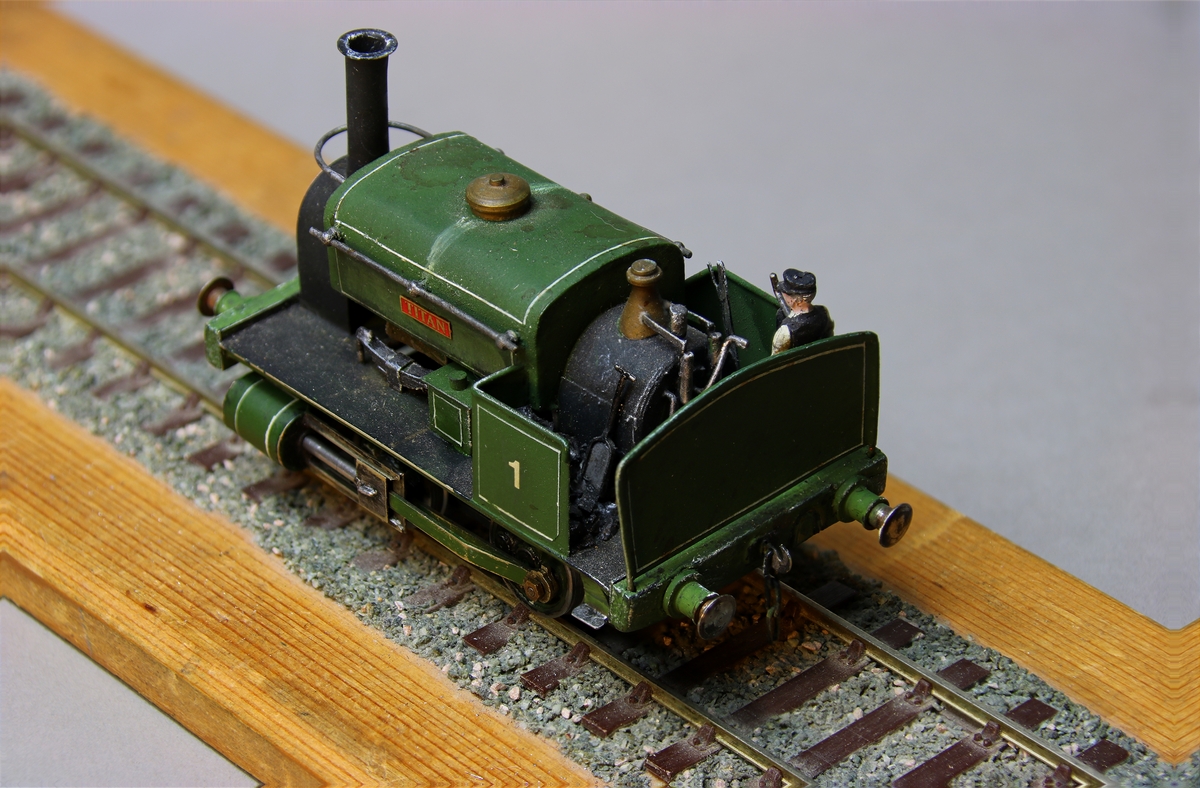
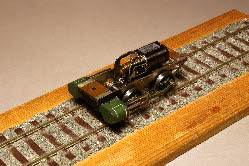 Finally, in 2016, the axle bearings have become so worn that ‘Manning Waddle’ would be a better name. However, a few hours work stripping the chassis down and replacing all four bearings, together with a new Mashima motor and High Level gearbox, has worked wonders.
 On the left, the re-
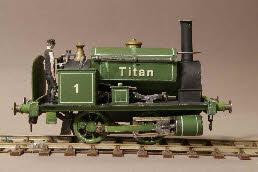
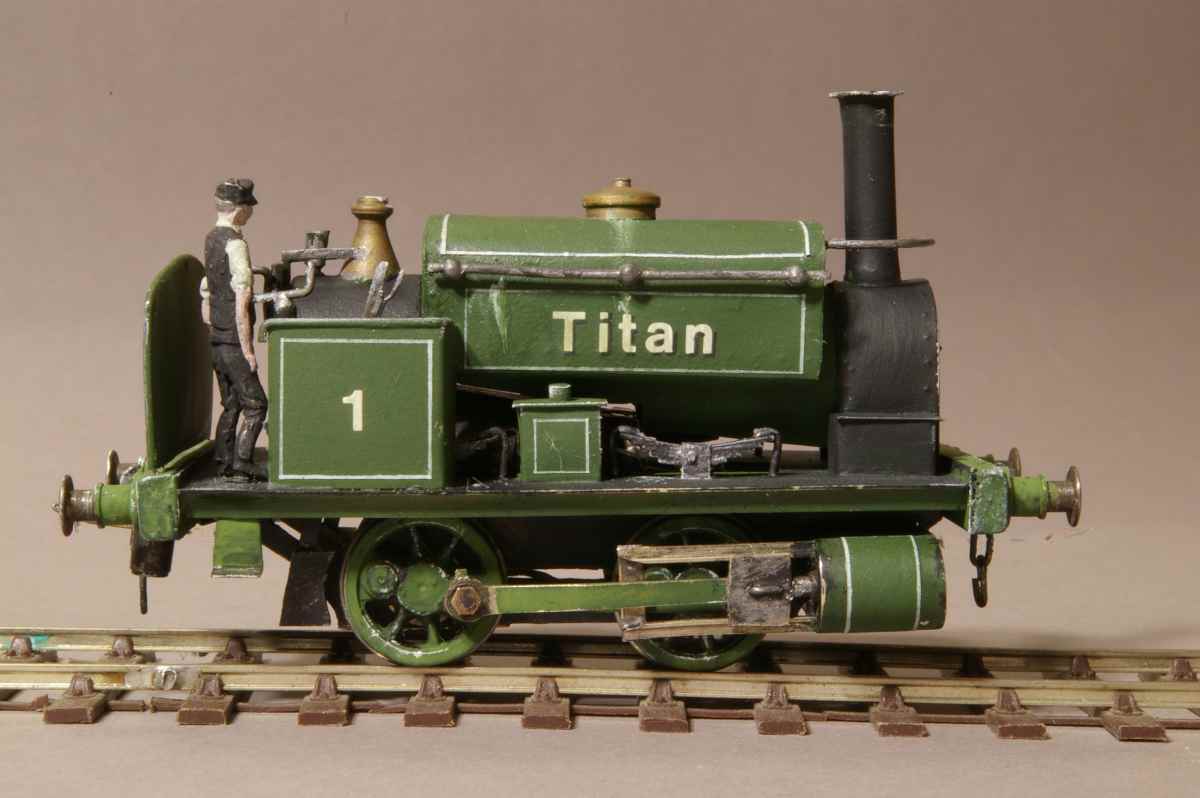
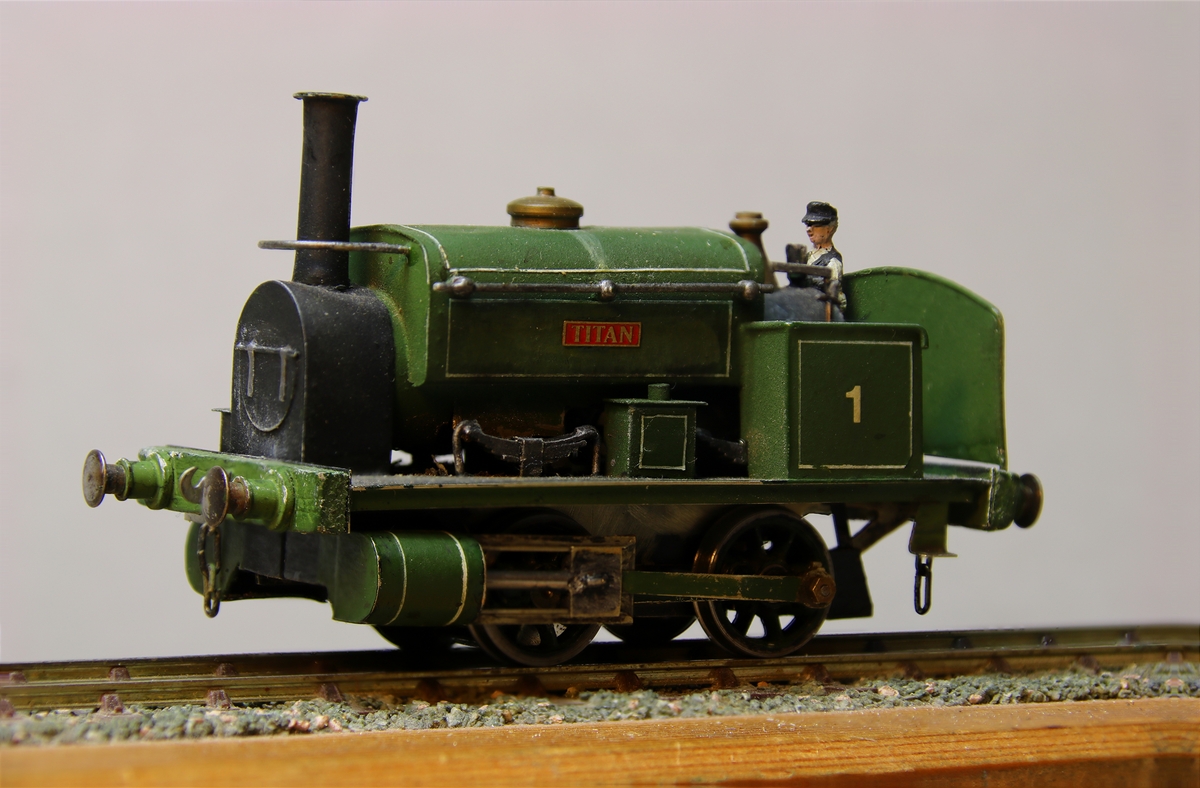
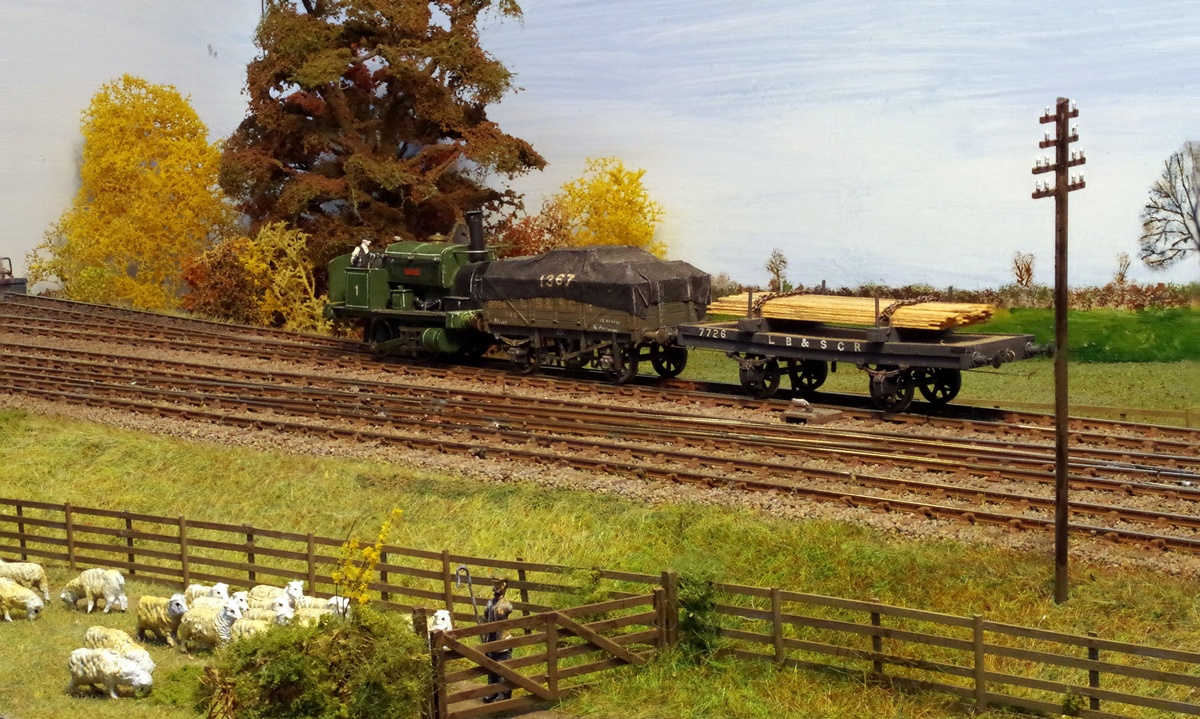 And finally, a couple of photos of Titan, on the left after a repaint complete with its new nameplate (from NarrowPlanet) and on the right on Plumpton Green, shunting wagons from the brickworks into the goods yard.