


 The next bit is to add the brickwork pattern -
 We need to make the brickwork transparent, so that you can 'see through' the brickwork pattern to the background colour. Choose one of the brickwork panels, and make sure this is the only object that can be edited. Using the magic wand, select the mortar colour (which should still be black at this stage). This will create a mask around the mortar lines, allowing only the mortar lines to be edited. By inverting the mask (ctrl-
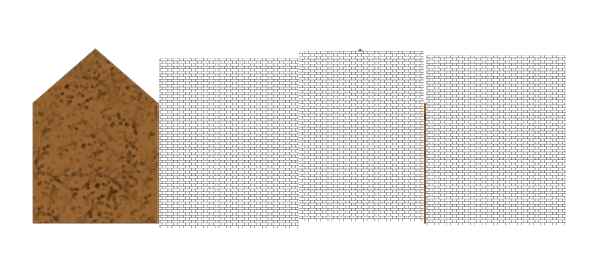
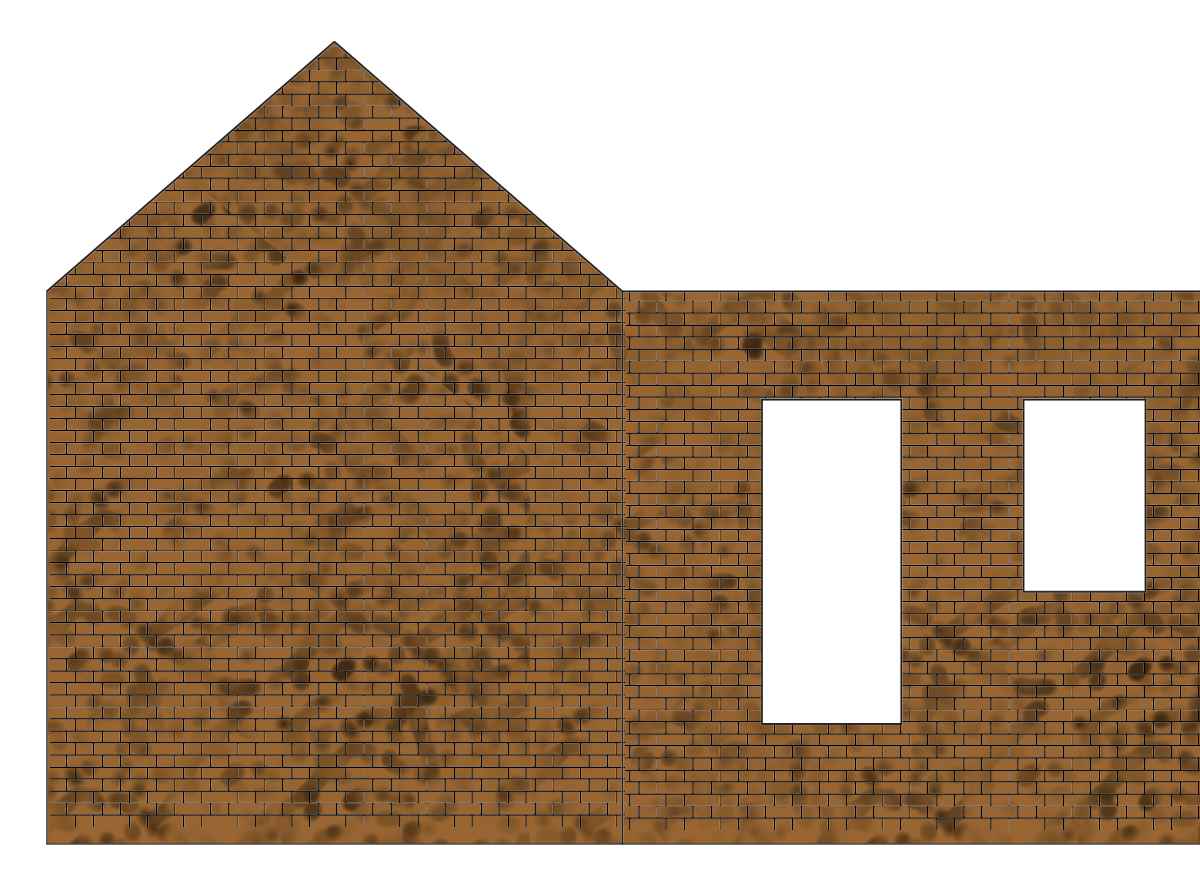 Select each of the remaining panels in turn, and repeat the process. Finally bring the building outline to the top. Figure 4c shows what it should look like for a section of the building. As an alternative, there is no reason why you can't make the brickwork transparent before copying and pasting -
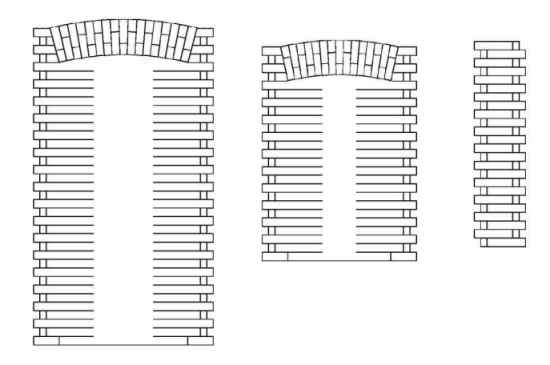 Finally you need to return to the drawing software, and create the brickwork for the window and door openings, corners and any other details. As before, these should be drawn using guidelines for accuracy, and then exported as bitmap files into the paint software. Figure 4d shows some examples. It's easier to apply the brickwork colour to these before copying and pasting.
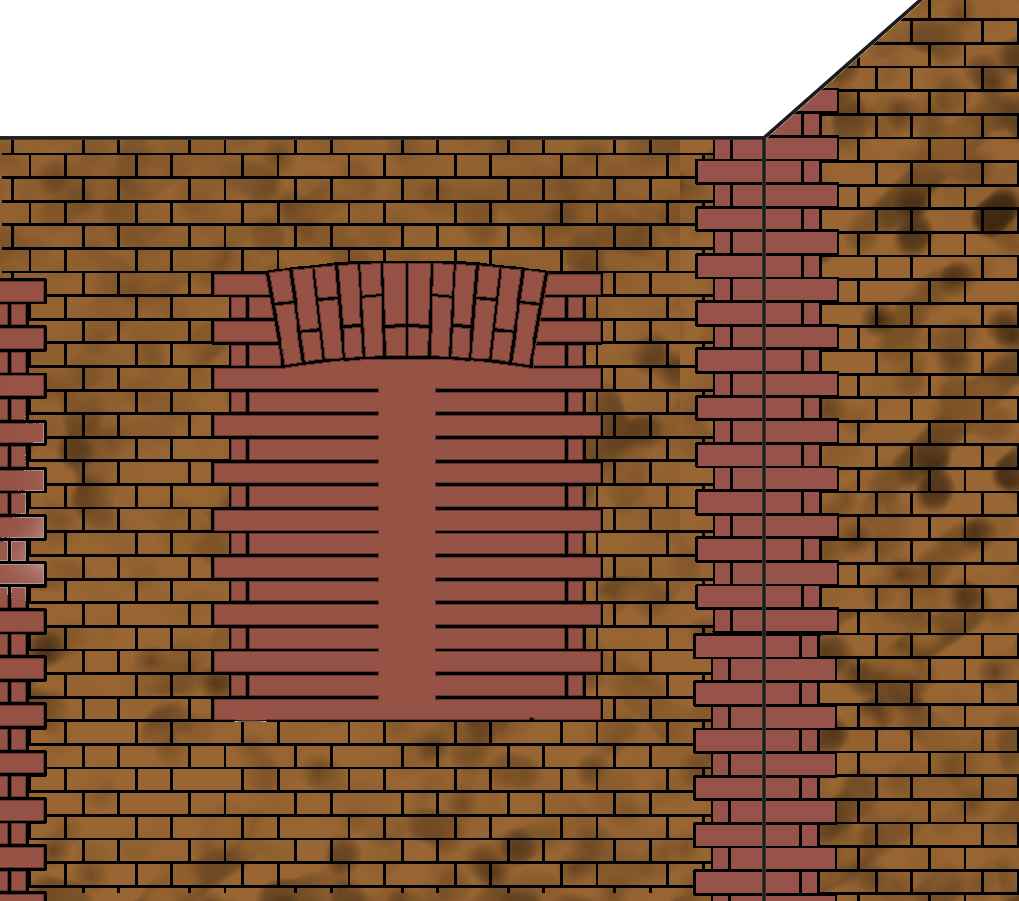 Once they are finished they have to be cut out and pasted. This can either be done laboriously, drawing a mask tightly around the object, or using the 'create object from mask' command. In Photopaint it is possible for example to select the mortar colour and use the 'fill holes' command which creates a mask tightly round the extremities of the object. This can then be cut and pasted onto your drawing. Figure 4e shows a window and corner. The very last stage is to line up the mortar courses on all the various bits of brickwork to create the finished drawing. Once you've got to this stage, make a copy of the drawing, so that you can revert to this stage if you make a mistake from here onwards.
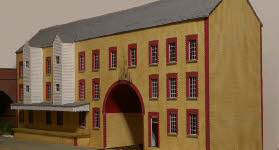
 Finally when you are happy with what you have got, select the mortar pattern on each of the brickwork bits, and convert them to whatever colour is appropriate. Figure 4f shows the finished product prior to any weathering. Again, it's worth making a separate copy at this stage, before you start the final bit of getting the colours right, and weathering your building.
That's the hard bit done. It just remains to print out the building, and put it together.