

Last updated May 2023
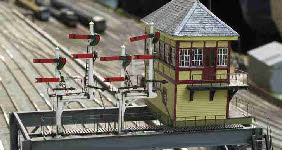
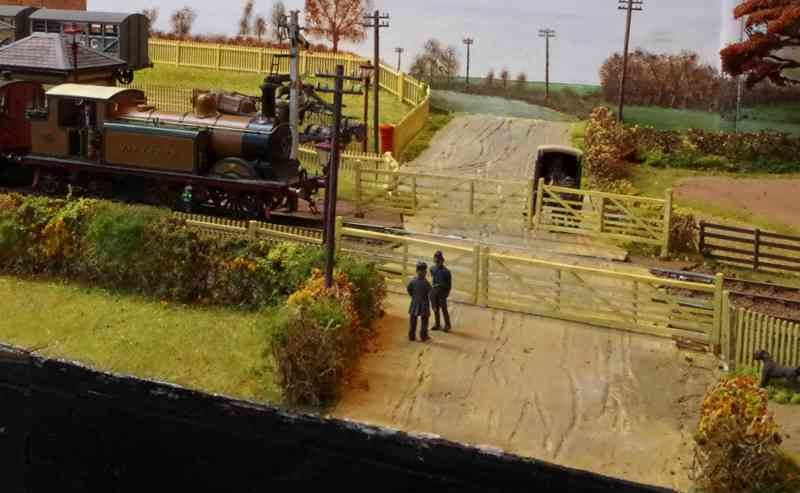
Level Crossing Gates for Plumpton Green
 I made the first set of crossing gates in early 2014, but didn’t get around to making them work at the time, partly because there were more urgent things to do to get the layout complete enough to exhibit, and partly because I hadn’t found a satisfactory way of making them work -
 not least because three of the four gates are on one baseboard, with the fourth on the adjacent board. The fact that the gates are severely skewed doesn’t make life any easier.
I looked at various ways of purely mechanical operation, and also the use of Clearbox motor/gearbox combinations (used on the Brighton Road ground signals). None of these potential solutions seemed very practicable or robust, so no progress was made.
I’m familiar with servos in connection with my interest in flying radio controlled gliders, and subsequently came across their use in connection with rotating ground signals. Servos are not like ordinary motors - their position is not dependent on voltage, but by sending them an electrical pulse of variable width. The angle of rotation of the servo is determined by the duration of a pulse that is applied to the control wire. The servo expects to see a pulse every 20 ms. The length of the pulse will determine how far the motor turns. For example, a pulse of 1.5 ms length will make the motor turn to the centre position, whilst 1ms or 2ms pulses will make the servo turn to the extremities of its rotational range, either side of centre.
This sounds a bit daunting, but the Model Electronic Railway Group (MERG) sells a range of products which make this approach very easy. They sell two electronic kits for controlling servos, the ‘EZYpoints’ kit and the ‘Servo4’ kit. Both are easy to make (less than an hour, once you understand what’s required).
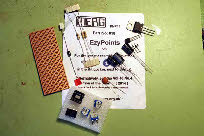
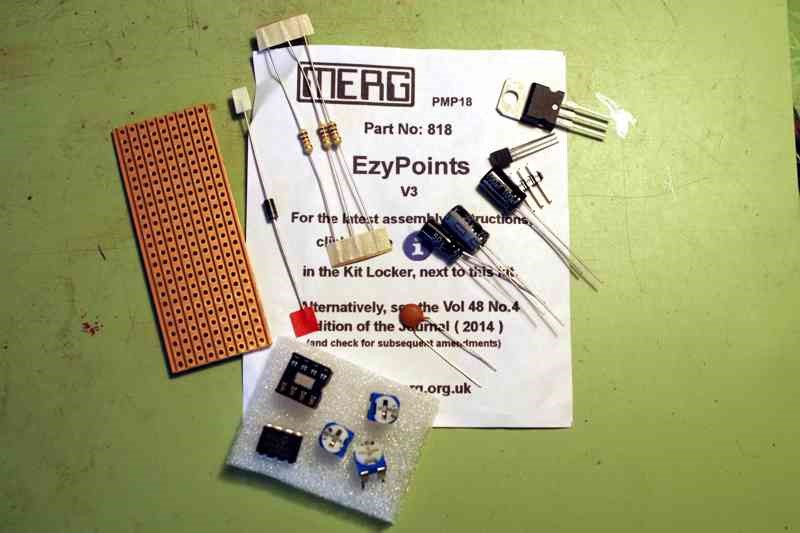
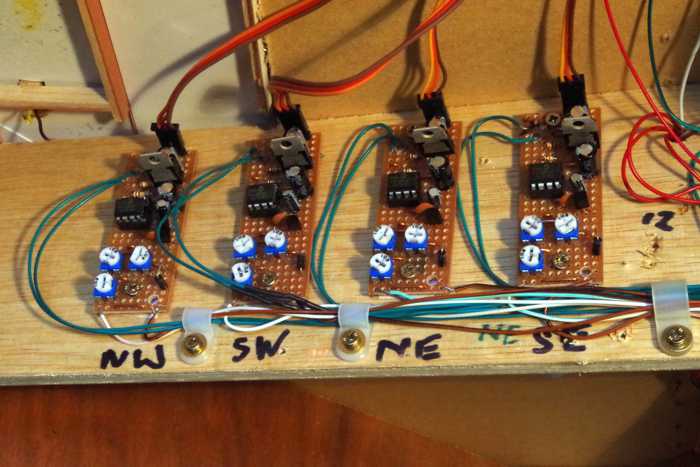
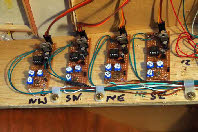 Each EZYpoints kit controls only a single servo. Setting up (extremities of movement, and speed of rotation) is simple, using just a screwdriver. For the level crossing gates, I used four EZYpoints kits, principally because two of the gates require more than 90deg movement and this is easily accommodated by the EZYpoints kit (and rather more difficult with the Servo4 kit). The photo on the left shows the components of a single kit, and the photo on the right shows four, assembled and fixed in place.
 These kits are fairly easy to make -
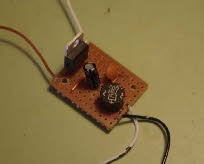
 the first one took a couple of hours, but having worked out what to do, the second took about half the time. These kits need a precise smoothed 12V DC supply to work properly. I have various supply voltages available across the layout for different purposes (5v AC, 15v AC, 21v DC), but not 12v DC. To provide the necessary voltage I also made a MERG kit of a 12V supply unit (powered by 15v AC) shown in the photograph (right). My assumption was that putting this together with the EZYpoints kit would give me a solution. Unfortunately it didn’t work - instead of the servos turning steadily and slowly they cause the gates to move in random jerks.
Level Crossing Gates for Plumpton Green

 I made the first set of crossing gates in early 2014, but didn’t get around to making them work at the time, partly because there were more urgent things to do to get the layout complete enough to exhibit, and partly because I hadn’t found a satisfactory way of making them work -
I looked at various ways of purely mechanical operation, and also the use of Clearbox motor/gearbox combinations (used on the Brighton Road ground signals). None of these potential solutions seemed very practicable or robust, so no progress was made.
I’m familiar with servos in connection with my interest in flying radio controlled gliders, and subsequently came across their use in connection with rotating ground signals. Servos are not like ordinary motors -
This sounds a bit daunting, but the Model Electronic Railway Group (MERG) sells a range of products which make this approach very easy. They sell two electronic kits for controlling servos, the ‘EZYpoints’ kit and the ‘Servo4’ kit. Both are easy to make (less than an hour, once you understand what’s required).
 Each EZYpoints kit controls only a single servo. Setting up (extremities of movement, and speed of rotation) is simple, using just a screwdriver. For the level crossing gates, I used four EZYpoints kits, principally because two of the gates require more than 90deg movement and this is easily accommodated by the EZYpoints kit (and rather more difficult with the Servo4 kit). The photo on the left shows the components of a single kit, and the photo on the right shows four, assembled and fixed in place.
 These kits are fairly easy to make -